



Blog
Greenhouse Vent Gear Rack Problems and Troubleshooting

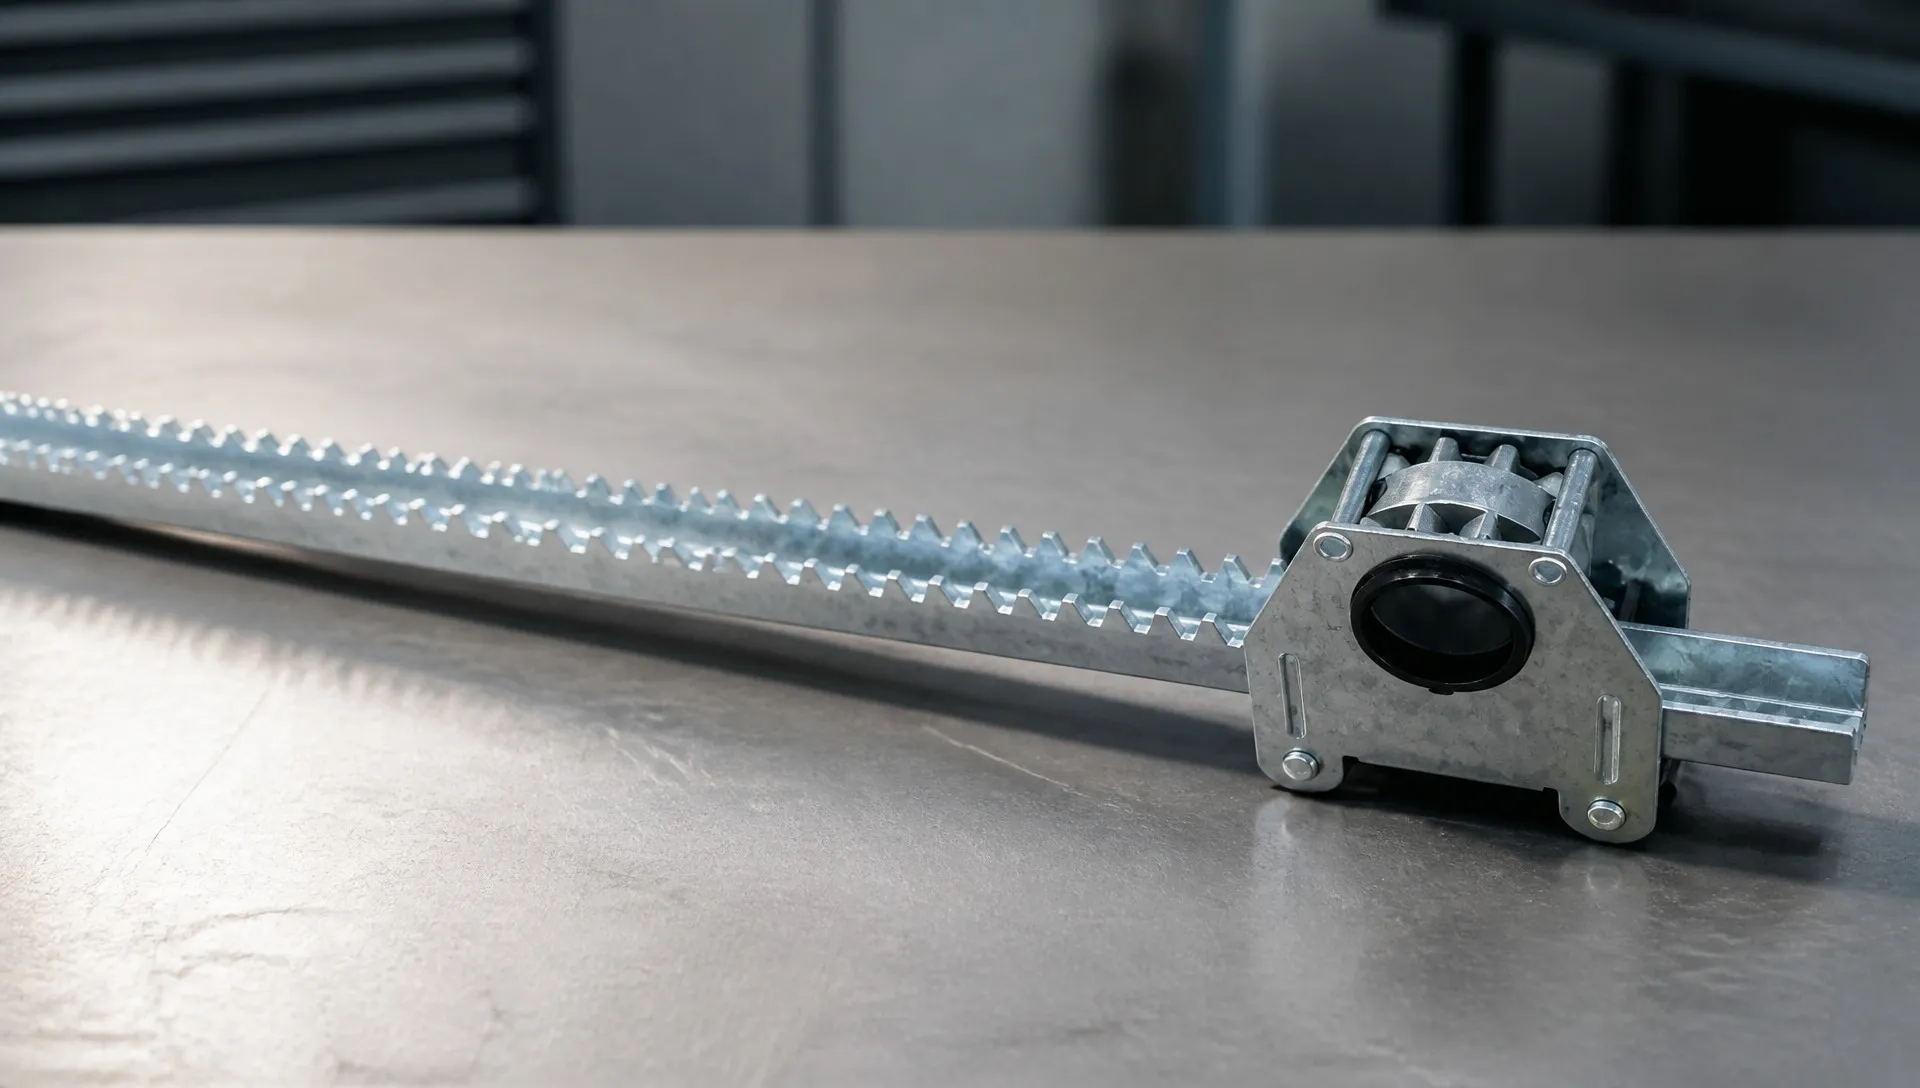
When a vent stops working properly, the component that gets blamed is usually the motor and the component actually at fault is usually the mesh between rack and pinion. This guide is organised by what you can observe, because that is how the problem presents itself at seven in the morning with the house already warming up.
Diagnose by Symptom
| What you observe | Most likely cause | Section below |
|---|---|---|
| Vent stops partway, same point every time | Alignment or sag | Stuck halfway |
| Motor runs, vent does not move | Teeth stripped, or pinion loose on shaft | Motor runs, nothing moves |
| Clicking or knocking under load | Shallow tooth engagement | Slipping and jumping |
| Vents in one bay open by different amounts | Pinion phase set inconsistently | Uneven across the bay |
| Motor sounds strained throughout | Binding, contamination, or undersized drive | Motor straining |
| Grinding or gritty noise | Debris packed in tooth roots | Noise and grinding |
| Vent drifts shut on its own | Gearbox back-driving, or excessive backlash | Vent will not hold position |
Vent Stuck Halfway
The diagnostic detail that matters is whether it stops at the same point every time. A consistent stopping point is geometry. An inconsistent one is contamination or electrical.
Consistent binding at one position almost always means the rack is not parallel to its travel path, or it has sagged between supports. A sagging rack stays correctly meshed at both ends — where it is fixed — and loses engagement depth in the middle, which is exactly the signature of a vent that starts and finishes cleanly but binds mid-stroke.
To check: isolate the power and move the mechanism by hand through its full range. You will feel the tight spot. Then sight along the rack from one end — deflection is usually visible once you look for it.
To fix: add intermediate support at the sag point, or correct the alignment so the rack runs parallel to travel. Do not respond by increasing motor torque. That converts a geometry problem into a broken tooth, and a broken tooth turns a half-day job into a replacement.
Motor Runs, Nothing Moves
Two causes, easy to tell apart.
Pinion loose on the shaft. If the set screw has backed off, the shaft turns inside the pinion and the mechanism does nothing. Mark the shaft and pinion with a pen, run the motor briefly, and see whether the marks stay aligned. This is the better outcome — retighten and the vent works again.
Teeth stripped. If the marks stay aligned but the rack does not advance, inspect the mesh zone. Stripped teeth on either component mean replacement.
When teeth have stripped, inspect both parts before ordering. A rack and pinion that have worn together become a matched pair, and fitting a new rack against a worn pinion concentrates contact on the sharp component. If both show wear, replacing them as a set is usually shorter than doing it twice.
Slipping and Jumping Under Load
A distinct click or knock, heard when the vent is working hardest — often on a windy day — is teeth jumping out of mesh rather than driving through.
The mechanism is this: under load the rack tends to lift away from the pinion, which reduces how deeply the teeth engage. Shallow engagement concentrates force on the tooth tips instead of across the flank, and past a certain point the tip slides over rather than driving.
Check whether the rack is being held in mesh. A correctly built drive unit has guide pins or a channel bearing against the back of the rack, preventing that lift. If those are worn, missing, or the housing has loosened on its mounting, the restraint is gone.
Left alone, this progresses. Each jump damages the tooth tips slightly, engagement gets shallower, and jumping happens at lower loads until the teeth strip entirely.
Uneven Opening Across the Bay
One shaft drives every vent in the bay, so in principle they all open by the same amount. When one leads or lags the others, the shaft has not changed — the phase of that one pinion has.
Each pinion is clamped to the shaft by a set screw, and its rotational position at the moment of clamping sets that vent’s phase. A set screw that slipped, or one clamped at the wrong orientation during a previous repair, puts that vent out of step.
Why it matters beyond appearance: the out-of-phase vent reaches the end of its stroke before or after the others. Whichever vent gets there first carries the whole load at that instant, and it is the one that strips teeth.
To fix: loosen the set screw on the offending unit, bring the sash into line with its neighbours, and retighten. Then check the others — a slipped set screw is often a symptom of under-torquing across the whole run.
Motor Straining Throughout the Stroke
Strain across the entire stroke, rather than at one point, indicates resistance everywhere rather than a local obstruction.
Work through in this order:
- Disconnect the drive and move the sash by hand. If it is stiff without the mechanism attached, the problem is the sash — seized hinges, a distorted frame, or sealing strip binding.
- If the sash moves freely, check the mesh. Debris packed into the tooth roots resists throughout travel.
- Check the guide rollers and bearings. Seized rollers add drag at every position.
- Only then consider the drive sizing. If the vent has always strained since installation, the motor may be undersized for the wind load on that sash — but if it worked for five years and now strains, sizing is not what changed.
Noise and Grinding
A gritty, grinding quality to the noise usually means contamination rather than wear. Soil splash, irrigation overspray and dust accumulate in the tooth roots, and once packed in they are ground between the flanks at every cycle.
Sidewall vents show this far earlier than roof vents, simply because they sit closer to the ground and catch more of everything.
An important caution on lubrication: the instinct is to add grease, and in a dusty facility this makes things worse. Grease holds grit against the tooth flanks and turns it into a lapping compound. Cleaning the tooth roots out and leaving the mesh dry usually runs better than cleaning and re-greasing.
Vent Will Not Hold Position
A vent that drifts shut after stopping has either a gearbox that is being back-driven, or excessive backlash in the mesh.
Most greenhouse gear motors are specified with a self-locking or high-resistance gearbox so wind pressure cannot push the drivetrain backwards. If a vent has started drifting, that resistance has dropped — a gearbox issue, not a rack issue.
Excessive backlash presents differently: the vent holds, but there is visible lost motion at each reversal, and the sash position no longer matches what the controller reports. That comes from worn tooth flanks on both components, or a mounting that has loosened and opened up the centre distance.
What Actually Wears a Rack Out
Across the faults above, the underlying causes reduce to four:
| Contamination | Debris in tooth roots. Causes grinding, strain, accelerated wear. Entirely preventable. |
|---|---|
| Alignment and sag | Rack not parallel or unsupported. Causes binding and uneven tooth loading. |
| Lost restraint | Guide pins, channel or housing no longer holding the rack in mesh. Causes slipping. |
| Corrosion | Section loss at the tooth root in a permanently condensing environment. Causes eventual tooth failure. |
Only the last is genuinely a material question. The first three are installation and maintenance, which is why specifying a heavier rack rarely solves a recurring fault.
When to Repair and When to Replace
Repair or adjust where the teeth are sound: realign, add support, clear debris, retighten set screws, restore the restraint holding the rack in mesh.
Replace where tooth geometry is gone: teeth worn thin, chipped, or missing; the rack bent or twisted; corrosion into the tooth section rather than surface staining.
Straightening a bent rack is worth a mention because it is commonly attempted. It work-hardens the steel and rarely restores true alignment, and the part usually fails again at the same place.
Where the rack is arc-form, replacement needs the radius to match the mechanism — see what to measure on our curved rack page. If you are unsure which form you have, our comparison of rack geometries covers how to tell.
Where both rack and pinion show wear, a matched set avoids putting a new profile against a worn one.
Preventive Checks Worth Doing
- Clear the tooth roots at the start and end of each growing season. This single item prevents more faults than everything else combined.
- Check set screw torque across the bay annually. Slipped phase is easier to correct before it strips a tooth.
- Look at tooth wear pattern. Wear on one side of the flank means misalignment — find it while the rack is still serviceable.
- Run each vent through full travel by hand once a season, with the drive disconnected. Resistance you can feel by hand is resistance the motor has been pushing through all year.
- Inspect the restraint that holds the rack in mesh. Worn guide components are cheap to replace and expensive to ignore.
FAQ
Q: My vent opens but will not close fully. Where do I start?
Check the closing end of the stroke for obstruction first — debris at the sash seal, or a limit setting stopping the motor early. If the mechanism binds in the last few degrees, the rack may be reaching the end of its teeth.
Q: Can I keep running a vent with one stripped tooth?
Not advisable. Load transfers to the neighbouring teeth each time the gap passes the pinion, and the damage spreads along the rack.
Q: Should I grease the rack and pinion?
In a clean environment, yes. In a dusty growing facility, grease traps grit and accelerates wear. Clean and dry usually outperforms greased and contaminated.
Q: The motor hums but nothing moves. Is that the rack?
Humming without rotation is usually electrical — a failed capacitor or a phase issue. Confirm the shaft is actually turning before investigating the mechanism.
Q: How do I know if my pinion is worn, not the rack?
Compare tooth thickness at the contact zone against an unworn area. The pinion sees every cycle at every position; the rack only meshes at the positions it passes. The pinion often wears first.
Q: One vent in the row opens less than the others. Is it broken?
Usually not broken — usually clamped out of phase. Check the set screw before assuming a component has failed.
Conclusion
Most greenhouse vent rack faults announce their own cause if you watch when they occur. A consistent stopping point is geometry. A click under load is engagement depth. One vent out of step with its neighbours is a set screw. Grinding is contamination.
The single most damaging response is increasing motor torque against a mechanical problem — it turns a binding vent into a stripped rack. Move the mechanism by hand before assuming the drive is underpowered.
Diagnosed a worn rack or pinion?
Send photographs of the damaged teeth against a steel rule, the overall rack dimensions, and the drive shaft diameter. We will identify the geometry and confirm what is needed to match it.
Not sure what failed? Send photographs of the mechanism in position, plus a description of when the fault occurs in the stroke, and we will help work through it before you order parts.


